Consider the marshmallow.
 |
| Pick your moments, though. |
You buy them by the bag.
Once you take them home you throw them in the cupboard and forget you have them
until a kid decides they want one. So, you fumble around in the dark to find
them, because by now they’ve migrated to the back of the cupboard where there’s
nothing but loose toothpicks, cupcake papers, and that little container of
chipotle pepper you bought when you wanted to make chili. It’s still unopened.
You find your bag of
marshmallows, rip it open, and hand one to the kid. You decide to treat
yourself to one. You pop it in your mouth only to discover that it’s stale. It
crumbles under your teeth and leaves a sticky film on your teeth when it
finally makes its way down the hatch.
The kid, not knowing yet
what bad is, asks for another. You oblige, trying to figure out what to do with
the rest. Eventually you give up, put a twist tie on the bag, and stuff it back
into its dark prison to be ignored for the next two months, or until the kid
ferrets it out themselves and goes on a sugar binge unseen since, well, the
last time you bought marshmallows.
Repeat ad infinitum.
So, let’s make good ones,
and let’s store them correctly.
A word of advice at the outset.
There’s gelatin in this, and the most common kind is derived from pork. If that’s
something you don’t do, then I’m sorry, but this recipe isn’t for you. I’m not
happy about that either, and I’ve been trying to figure out how to use agar
powder (a vegan product derived from seaweed) instead. I am, so far,
unsuccessful.
With that in mind, our
ingredients list.
- One cup of cold water, divided
- 3 packets of gelatin powder
- 12
ounces granulated sugar
- 1
cup light corn syrup
- 1/4
teaspoon kosher salt
- 1
teaspoon vanilla extract
- 1/4
cup confectioners' sugar
- 1/4
cup cornstarch
- Nonstick
pan spray
Our hardware list.
- · Stand mixer with bowl and whisk attachment
- · At least two rubber headed scrapers
- · Small sauce pan
- · Digital scale
- · Plunger style measuring cup – I’ll put up a pic at the bottom of this entry.
- · Candy thermometer
- · First aid kit
First aid kit?
Yes, first aid kit.
 |
| Not this First Aid Kit, but feel free to play any music you like when you cook. I like Reverend Horton Heat, myself. |
Sit tight, all will be
made clear. Probably you won’t need it but…well, we’ll get there in a minute.
Empty your gelatin
envelops into the bottom of your mixer bowl. Pour half a cup of your cold water
on top of that gelatin, seat the bowl in your mixer, and let it sit for a
while. This is called blooming. It’s where the gelatin soaks up the water.
While that’s going on, measure
into your plunger cup a cup of light corn syrup. Again, we’ll cover this tool
at the end of the piece.
Turn on the digital
scale, put the pan on top, zero out the scale, and add the sugar. Put the rest
of your water on top of that, then your corn syrup, and finish with the salt.
 |
| A digital scale is a real must-have in the kitchen. |
Put the pan on the stove,
covered, on medium high heat for four to five minutes, or until the sugar appears
to be dissolved. Clip your candy thermometer onto the side of the pan – with the
business end in the syrup.


Heat to 240 degrees
Fahrenheit, also called soft ball stage. Here’s where you might want to know
where the first aid kit is at. This stuff is hotter than the boiling point of
water, and if tends to cling to skin. If you get it on you, well, that’s pretty
much an instant second degree burn right there. That said, though, don’t be
scared. The pan has a long handle, and a lip designed for pouring.
Besides which, you’re not
going to get a glass of ice water handy to dip your finger in, then quickly dip
your finger in the syrup and just as quickly dip your finger back in the ice
water to collect a sample of the syrup to check for doneness, right? You’re
going to take your thermometer’s word for it, right?
Because that’s the
classic technique used for checking doneness in confections.
It’s not a practice
to which I subscribe. Not since that time in baking school when I fished a cinnamon
stick out of a pan of screamingly hot red wine reduction bare handed and immediately
did a Tommy Tune style high step dance to the hand sink. Only had to do that
once, tell you that much for nothing. Truly, pain is a fine
choreographer. Use a good thermometer
and have a first aid kit in the kitchen. Trust a fat guy.
Your syrup is ready, and
now it’s time to get mixing.
Turn on the mixer to a
lower setting and pour your syrup down the edge of the bowl in a thin bead.
Pouring directly onto the whisk is not advised, as that will cause your syrup
to fly around the bowl, and possibly out into the open air, which may or may
not contain your hand.
 |
| Slow is the way to go. |
Once it’s all in, crank
up the mixer as high as it will go, and set a timer for fourteen minutes. It is
entirely possible that your mixer might not last the entire time as this can be
a real drain on either your kitchen circuit or on the machine itself. Some
stand mixers have their own onboard circuit breaker that could possibly trip.
It’s ok, this is a feature, not a bug. Just reset the circuit and keep going. During
this time, you can prep your container.
For this I like to use
one of those 9 inch by 13 inch Tupperware type containers. With a lid, that’s
important. In a small bowl combine your powdered sugar and corn starch. Then spray
your container with a little pan spray. Not too much, just enough for a thin
layer. Use about half of your sugar/starch mix and dust the entire inside of
your container. Give your rubber headed spatulas a spray, too.
When your timer gets down
to one minute, add to the fluffy mass in the mixer the vanilla and let it whip
for one more minute.
Time’s up, and now, you,
my friend, are ready for Freddie.
 |
| Wrong Freddie. Although probably just as sticky. Stage lights get hot, y'know. |
In this case, Freddie is
an amorphous blob of hot, rapidly setting, vanilla flavored, sugar fluff. This
is mind, work fast.
Using one of your
pre-lubed scrapers, get as much of Freddie out of the bowl as you can. Some of
it will be too cool to scrape up, and therefore is lost. This is life. Freddy
will stick to your scraper no matter how much you lube it up, so grab the other
one if you need it.
Once Freddy is in the
container, you can level its top with a scraper, or, you can spray your hand
and use that. Your best tools are almost always at the ends of your arms.
 |
| This is what I mean by work fast. I had to take pics of this part of the process, and lost too much set up time while it happened. It'll still taste really good, though. |
Once Freddie's all nice
and comfy in the container, put the lid on and leave him alone for no less than
four hours. Twenty-four is best.
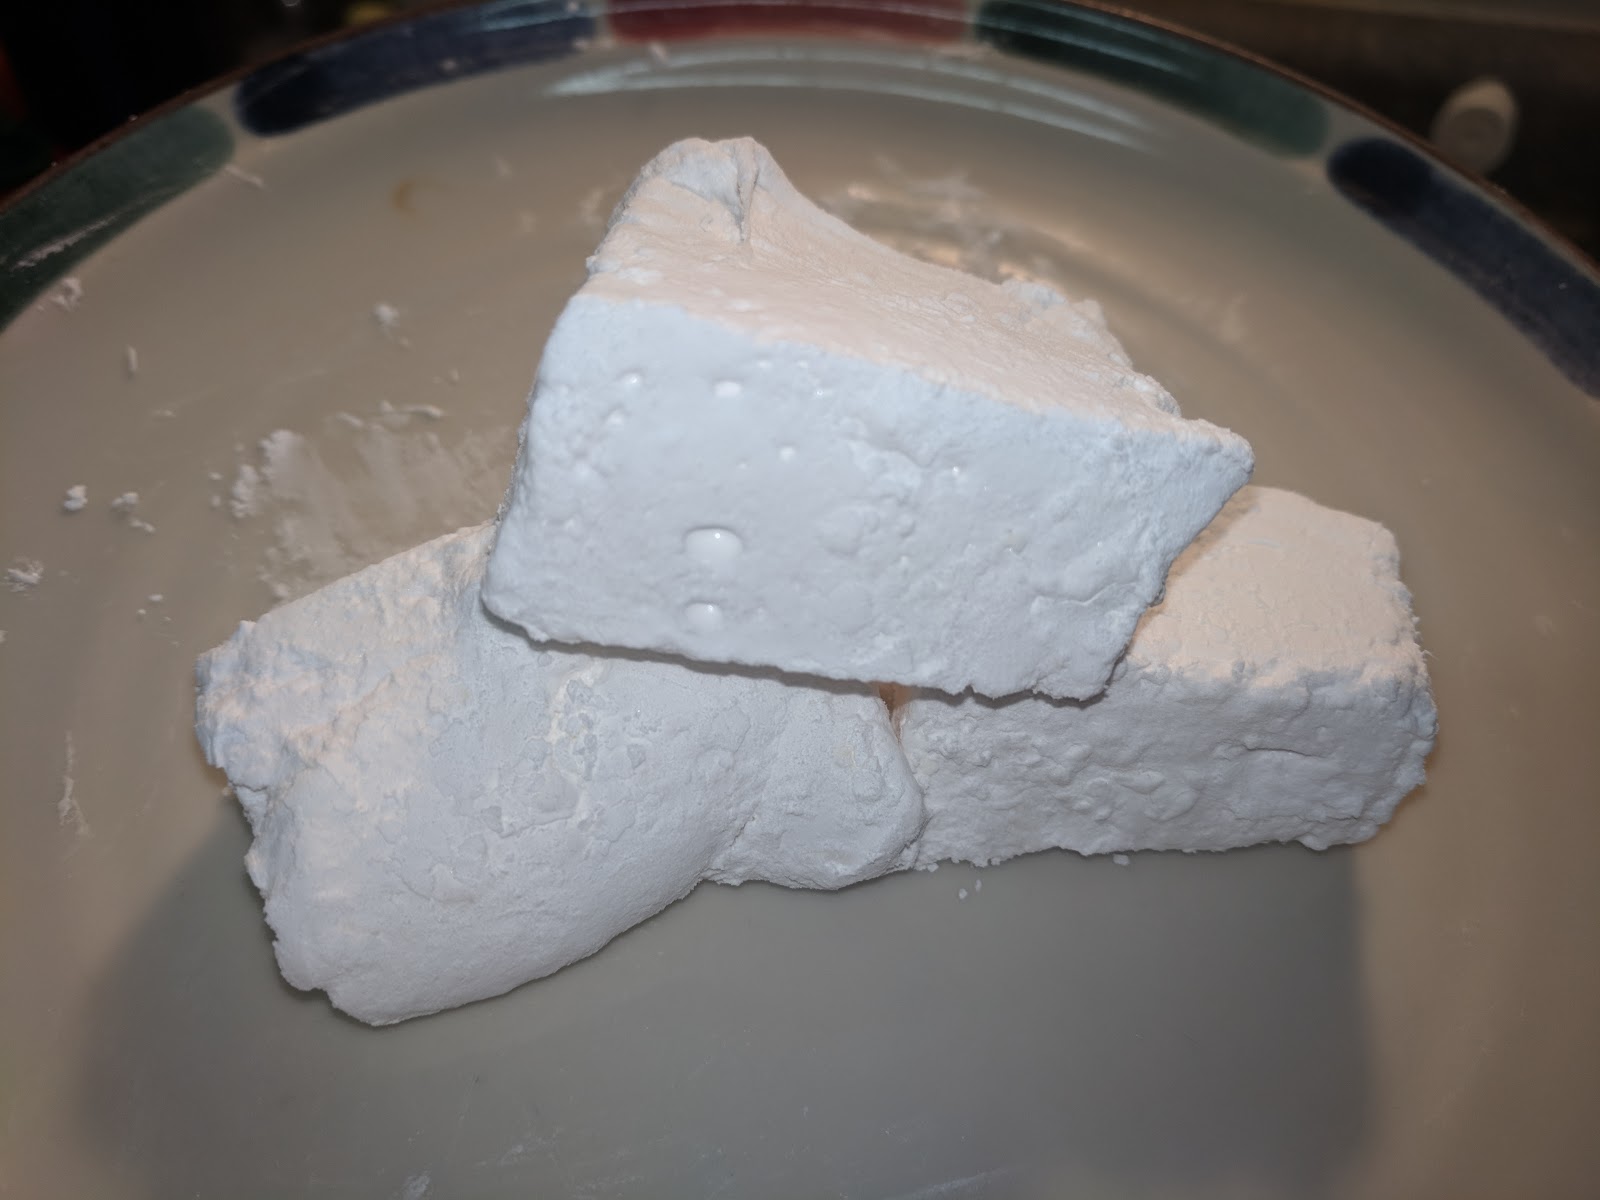
Ok, it’s time cut Freddie up. Don’t feel bad, I’m just calling it Freddie because I didn’t feel like
typing “amorphous blob of hot, rapidly setting, vanilla flavored, sugar fluff” over and over again.
With a little more of
your powder mix, dust a cutting board. Turn the container out onto the board
and let Freddie drop out. You might have to tap the container a little to coax
him out. Once it’s out, you can use a pizza wheel or a big knife to cut it into
one-inch pieces. Or whatever size you like. Separate your pieces and dust with
the rest of the powder mixture. Push them back together, put the container back
over them upside-down, and flip the cutting board back over so the marshmallows
fall back into the container.
 |
| Gravity is an excellent tool. |
Covered up tight and
stored in a cool dark place, they’ll keep for a solid month.
Once you get good and
comfortable with this, you can have with other flavors, too. Maybe instead of
vanilla extract you can try almond. Or, near the end of boiling your syrup,
throw a quarter cup of cocoa powder in and make chocolate marshmallows. You
could put some orange extract in your chocolate marshmallows, make chocolate
orange marshmallows, and become the most popular person in the s’mores line.
If you want to toast
these marshmallows, you’ll notice they toast much faster and get melty quickly.
This is because they’re almost entirely made of sugar and air. Keep this in the
back of your head at your next campfire.
What’s a plunger cup?
This is a plunger cup.

They are available in two
cup sizes, and in smaller two tablespoon sizes. When you push the plunger in
they automatically scrapes their own sides, helping make sure you get an
accurate amount, handy when you’re handling thick, sticky ingredients, just as
corn syrup. Mine came from Pampered Chef as a wedding present. OXO also makes a
good one.
And there you have it,
marshmallows you’ll actually eat before they turn into brittle concrete. Enjoy!
Don’t put your knife in
the dishwasher.
No comments:
Post a Comment